
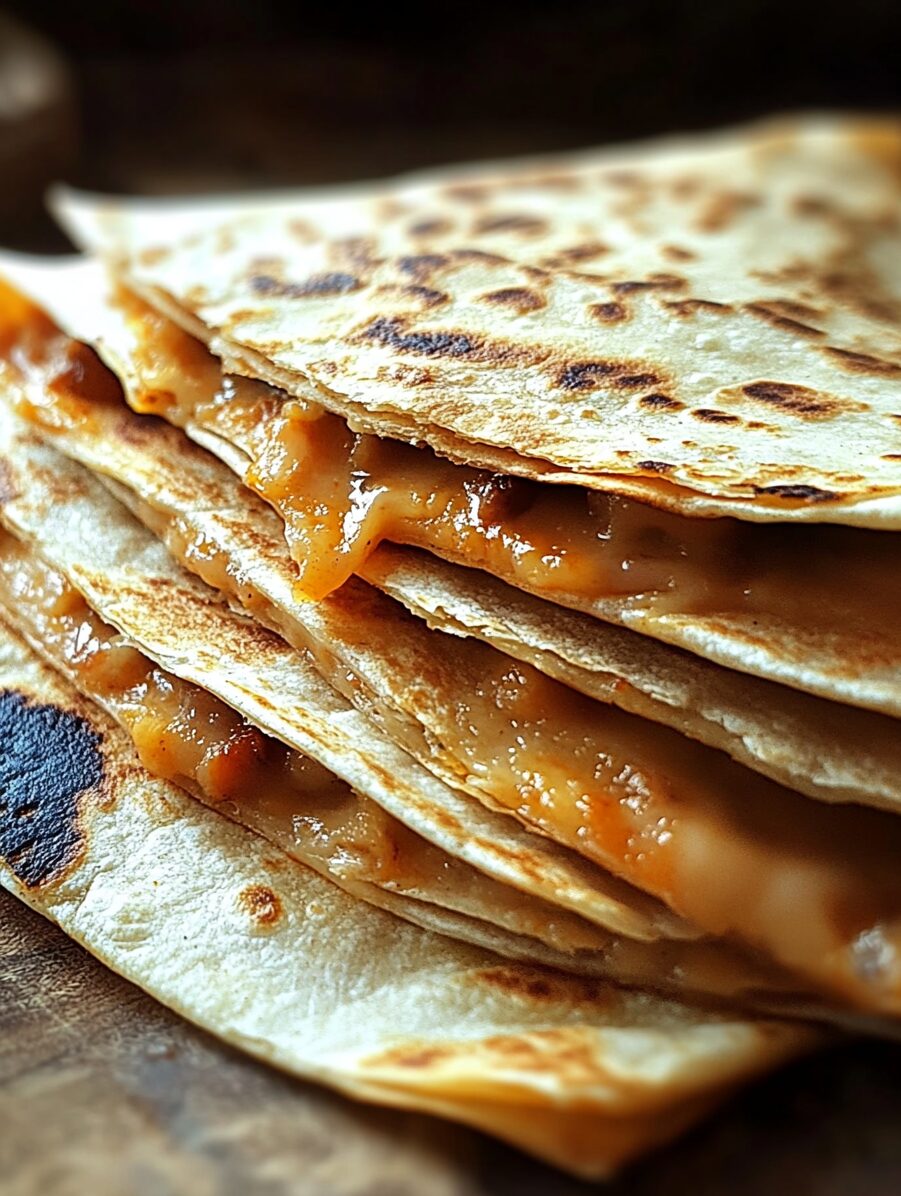
Crispy oven-baked quesadillas are a delicious and versatile meal option. They feature a golden, crunchy tortilla shell filled with gooey, melted cheese and customizable fillings. Perfect for a quick dinner, a lazy weekend snack, or a party appetizer, these quesadillas can be served with salsa, guacamole, or sour cream to elevate the flavor.
Full Recipe:
Ingredients:
- 8 large flour tortillas
- 2 cups shredded cheese (cheddar, mozzarella, or a blend)
- 1/2 cup cooked chicken (optional)
- 1/4 cup chopped onions
- 1/4 cup chopped bell peppers
- 1/4 cup sour cream (optional)
- 2 tablespoons olive oil
- Salt and pepper to taste
Directions:
- Preheat Oven: Set your oven to 400°F (200°C).
- Prepare Tortillas: Lay 4 tortillas on a baking sheet.
- Add Fillings: Evenly distribute cheese, cooked chicken (if using), onions, and bell peppers over the tortillas. Sprinkle with salt and pepper.
- Assemble Quesadillas: Place the remaining 4 tortillas on top to create quesadillas.
- Brush with Oil: Lightly brush the tops with olive oil.
- Bake: Bake for 8–10 minutes, flipping halfway through, until the tortillas are golden and crispy.
- Serve: Enjoy warm with sour cream, salsa, or your favorite dipping sauce.
Nutritional Information:
- Calories: 350 kcal per quesadilla
- Prep Time: 10 minutes
- Cooking Time: 10 minutes
- Total Time: 20 minutes
- Servings: 4
Enjoy these quick and delicious crispy oven-baked quesadillas as a family favorite or party hit!

The Allure of Crispy Oven-Baked Quesadillas: A Versatile Delight
Crispy oven-baked quesadillas are a staple in many households for good reason. They strike the perfect balance between simplicity and culinary creativity, making them an ideal choice for anyone who loves quick, flavorful meals. Whether served as a main dish, a snack, or an appetizer at a social gathering, these quesadillas are sure to please. With their golden, crunchy exterior and melted, gooey interior, they are as enjoyable to eat as they are easy to prepare.
Why Choose Oven-Baked Quesadillas?
The traditional method of cooking quesadillas involves frying them on a stovetop, but oven-baking offers several advantages:
- Healthier Option: By using minimal oil and baking the quesadillas, you cut down on unnecessary fats and calories compared to frying.
- Even Cooking: The oven ensures that every bite of your quesadilla is evenly crispy and delicious.
- Convenience: Oven-baking allows you to prepare multiple quesadillas at once, making it perfect for feeding a crowd.
- Hands-Off Cooking: Unlike stovetop quesadillas that require constant attention, the oven does the work for you, freeing up time to prepare accompaniments or relax.
Customizable Fillings: A Canvas for Creativity
One of the most appealing aspects of oven-baked quesadillas is their versatility. The filling options are virtually endless, allowing you to tailor them to suit your preferences, dietary restrictions, or available ingredients.
- Classic Combinations: The recipe includes staples like shredded cheese, onions, bell peppers, and optional cooked chicken. These classic fillings create a harmonious blend of flavors and textures.
- Vegetarian Options: For a meat-free version, consider adding black beans, roasted vegetables, sautéed mushrooms, or spinach.
- International Twists: Incorporate global flavors by using ingredients like feta cheese and olives for a Mediterranean vibe, or spiced ground beef and jalapeños for a Tex-Mex flair.
- Kid-Friendly Versions: Simplify the fillings to appeal to younger palates with just cheese and a mild protein like ham or turkey.
- Gourmet Upgrades: Experiment with specialty cheeses like gouda or brie, and add gourmet touches such as caramelized onions or truffle oil for a sophisticated take.
Accompaniments to Elevate the Experience
No quesadilla is complete without a selection of flavorful accompaniments. Here are some popular options to consider:
- Dips:
- Salsa: Fresh tomato salsa adds a zesty kick that complements the richness of the cheese.
- Guacamole: Creamy avocado paired with lime juice and cilantro offers a refreshing contrast to the crispy tortilla.
- Sour Cream: The tangy creaminess of sour cream balances the dish’s savory elements.
- Side Dishes:
- Mexican Rice: A side of seasoned rice adds a hearty touch to the meal.
- Refried Beans: These provide a creamy, protein-packed complement.
- Corn Salad: A fresh salad with corn, lime, and cilantro adds a vibrant element to the plate.
- Toppings:
- Pico de Gallo: This fresh salsa adds a burst of flavor and color.
- Shredded Lettuce: Adds crunch and freshness to each bite.
- Pickled Jalapeños: For those who enjoy a bit of heat, these are a must.
Tips for the Perfect Crispy Quesadillas
- Use Fresh Tortillas: The quality of your tortillas greatly impacts the final result. Fresh tortillas ensure a soft yet crispy texture.
- Don’t Overfill: Overloading your quesadillas can make them difficult to flip and lead to uneven cooking.
- Brush Lightly with Oil: A light coating of olive oil is key to achieving a golden, crispy exterior without making the quesadillas greasy.
- Monitor Cooking Time: Since ovens vary, keep a close eye on your quesadillas to avoid over-baking.
- Flip Carefully: Use a large spatula to gently flip the quesadillas halfway through baking for an even finish.
Nutritional Benefits of Homemade Quesadillas
While quesadillas are often considered indulgent, preparing them at home allows you to control the ingredients and make healthier choices. Using whole-grain tortillas, lean proteins, and fresh vegetables can transform them into a nutritious meal. Pairing them with fresh, homemade dips like guacamole ensures you’re consuming wholesome, natural ingredients.
Serving Suggestions for Different Occasions
- Family Dinners: Serve with a variety of dips and a green salad for a complete, satisfying meal.
- Game Day Snacks: Slice the quesadillas into smaller triangles and pair them with an assortment of dips for a crowd-pleasing appetizer.
- Brunch: Add scrambled eggs and breakfast sausage to the filling for a morning twist on this classic dish.
- Lunchbox Favorite: Pack cooled quesadillas in lunchboxes with a side of salsa for a portable, mess-free option.
Conclusion
Crispy oven-baked quesadillas are more than just a quick meal; they’re a blank canvas for culinary creativity, a crowd-pleaser for any occasion, and a healthier alternative to their fried counterparts. With their customizable fillings and diverse serving options, they fit seamlessly into various mealtime scenarios, from family dinners to festive gatherings.
Whether you’re a seasoned home cook or a kitchen novice, oven-baked quesadillas offer an easy, delicious way to bring people together over a shared love of good food. Serve them with your favorite dips and sides, and watch them disappear from the plate in no time! Add this recipe to your repertoire, and you’ll have a reliable go-to dish that’s as versatile as it is satisfying.
Print
Crispy Oven-Baked Quesadillas
- Total Time: 20 minutes
Description
Crispy oven-baked quesadillas are a delicious and versatile meal option. They feature a golden, crunchy tortilla shell filled with gooey, melted cheese and customizable fillings. Perfect for a quick dinner, a lazy weekend snack, or a party appetizer, these quesadillas can be served with salsa, guacamole, or sour cream to elevate the flavor.
Ingredients
Ingredients:
- 8 large flour tortillas
- 2 cups shredded cheese (cheddar, mozzarella, or a blend)
- 1/2 cup cooked chicken (optional)
- 1/4 cup chopped onions
- 1/4 cup chopped bell peppers
- 1/4 cup sour cream (optional)
- 2 tablespoons olive oil
- Salt and pepper to taste
Instructions
- Preheat Oven: Set your oven to 400°F (200°C).
- Prepare Tortillas: Lay 4 tortillas on a baking sheet.
- Add Fillings: Evenly distribute cheese, cooked chicken (if using), onions, and bell peppers over the tortillas. Sprinkle with salt and pepper.
- Assemble Quesadillas: Place the remaining 4 tortillas on top to create quesadillas.
- Brush with Oil: Lightly brush the tops with olive oil.
- Bake: Bake for 8–10 minutes, flipping halfway through, until the tortillas are golden and crispy.
- Serve: Enjoy warm with sour cream, salsa, or your favorite dipping sauce.
- Prep Time: 10 minutes
- Cook Time: 10 minutes